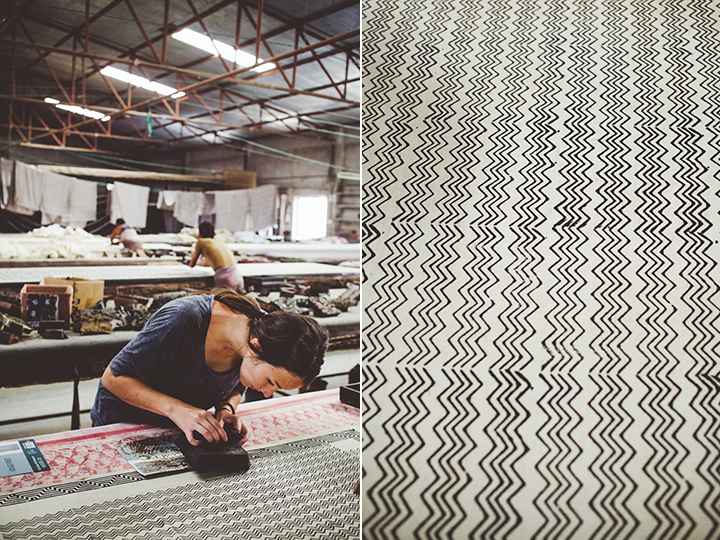
One thing that long term travel hasn't been able to afford me is the ability to be as crafty as I want to be. It's been six months since I've touched a sewing machine or made anything and my hands can feel the creative absence. Traveling fills me with inspiration but I feel a bit creatively out of shape. My artistic muscles feel as though they are atrophying. So when we went back to Jaipur for a few days after Jodhpur, I looked into a block printing workshop to appease my creative hunger. We traveled to the Jai Texart Factory in Bagru, 30 km from Jaipur for a 1 day block printing workshop. Bagru is a town that is famous for their expertise in block printing and more specifically, their printing with vegetable and natural dyes. The process is not only painstakingly laborious but anciently beautiful. It has been perfected over 1000+ years.
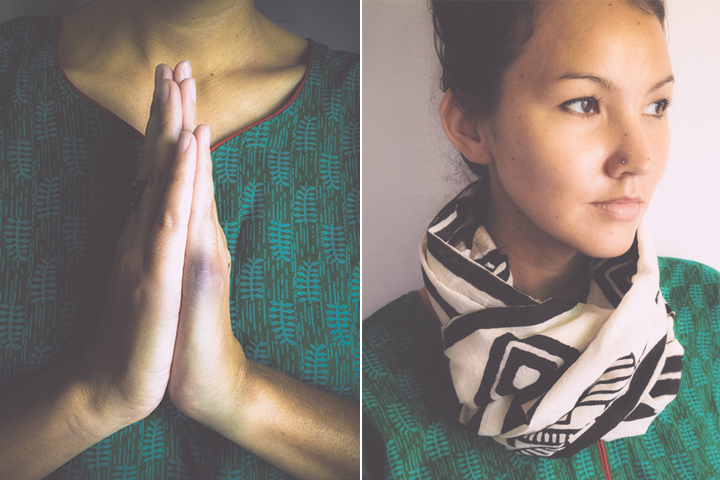
The workshop runs from 10am-5pm and I come out with two beautiful cotton scarves.
Let's get started.
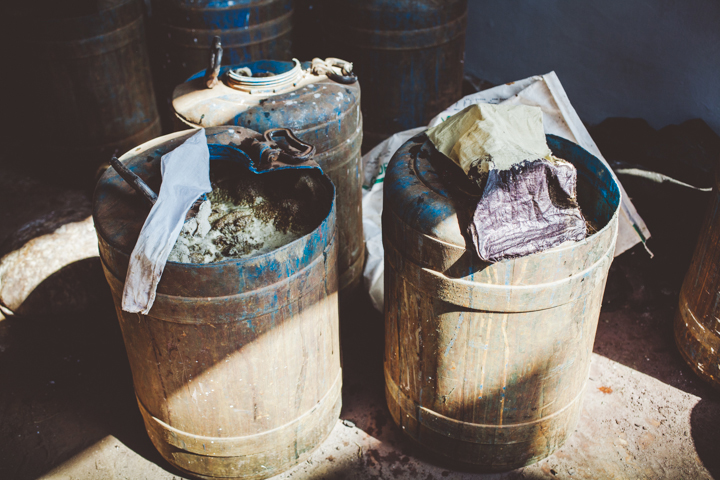
 Below are a few of the natural dyes that I will make reference too throughout the process.
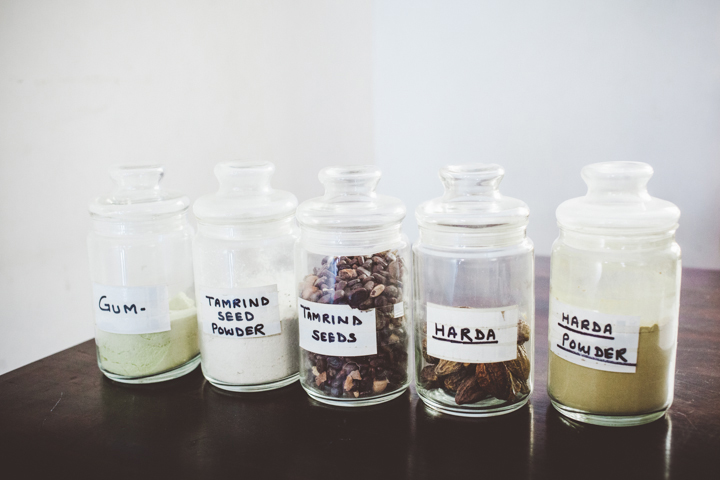
 STEP 1: WASHING
This step is important to rid the fabric of any impurities. In the olden days, they would use cow dung diluted in water to do this. My fabric was already treated so I began at step 2.
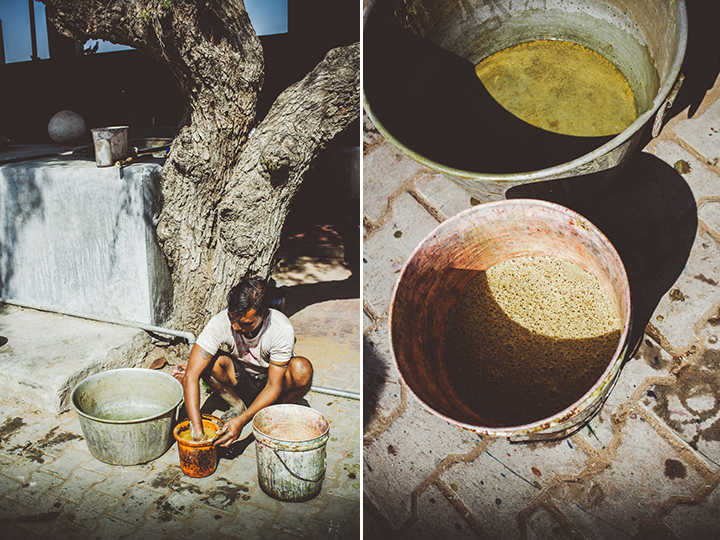
STEP 2: HARDA DYEING
The fabric is dyed in cool water and harda powder. Think of this as a primer. Without this step, the dye will not absorb into the cotton properly.
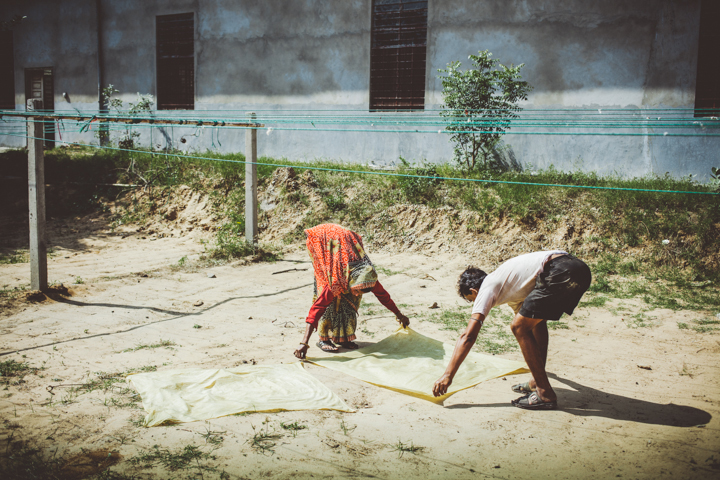
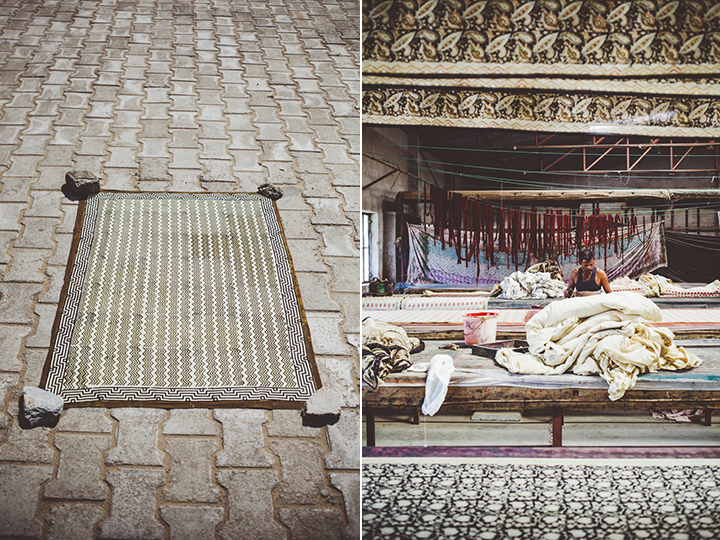
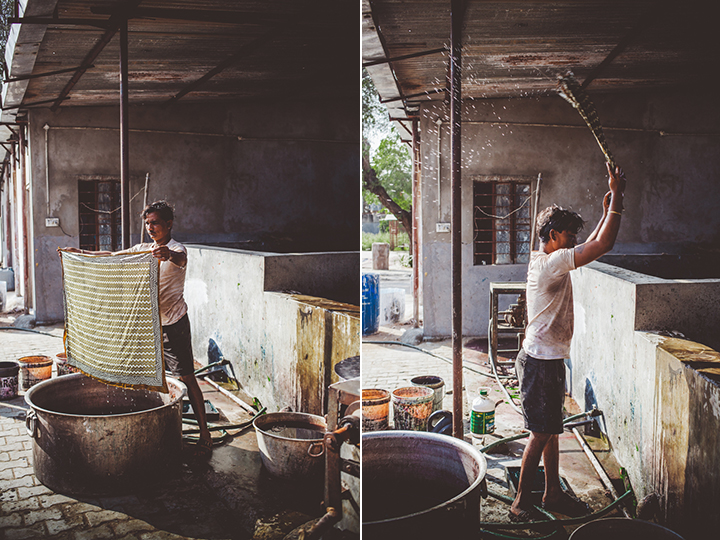
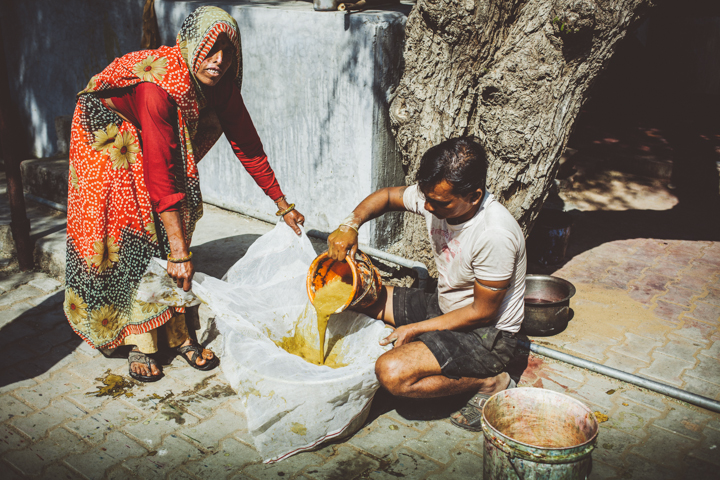 Once dyed, the fabric needs to lay flat and dry in the sunlight. (STEP 3) The fabric will have a yellowish tint after this step which will later disappear once washed.
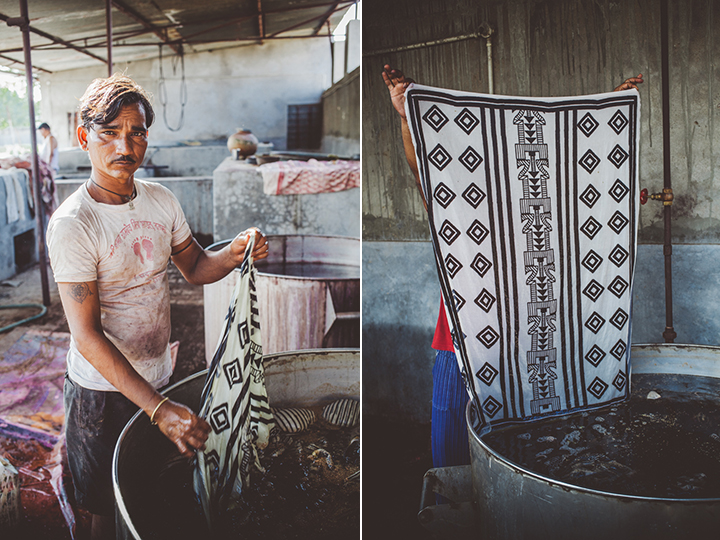
 Below we are showed just how important this step is. Fabric that is not harda treated and harda treated are dipped into black dye and you can see the difference. The not harda treated fabric is the white fabric on the left, and the harda treated fabric is the yellow tinted fabric on the right.
 While the fabric is drying, we watch as colors are mixed.
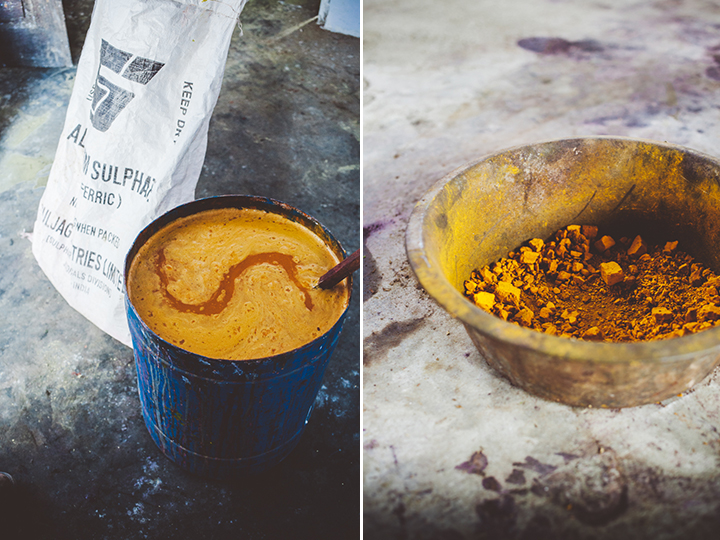
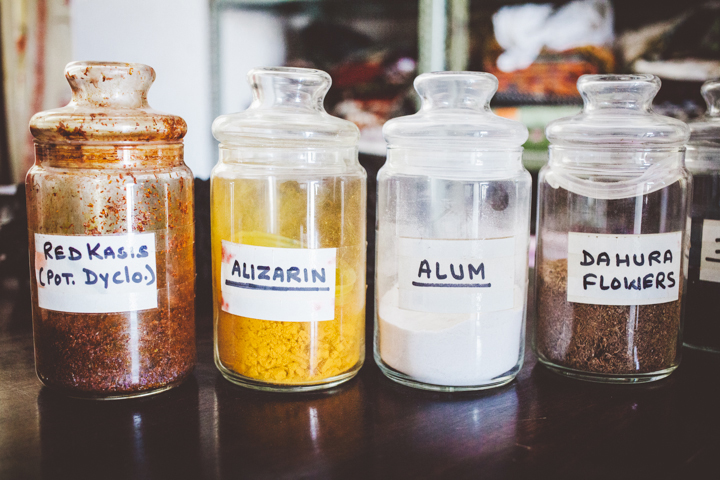
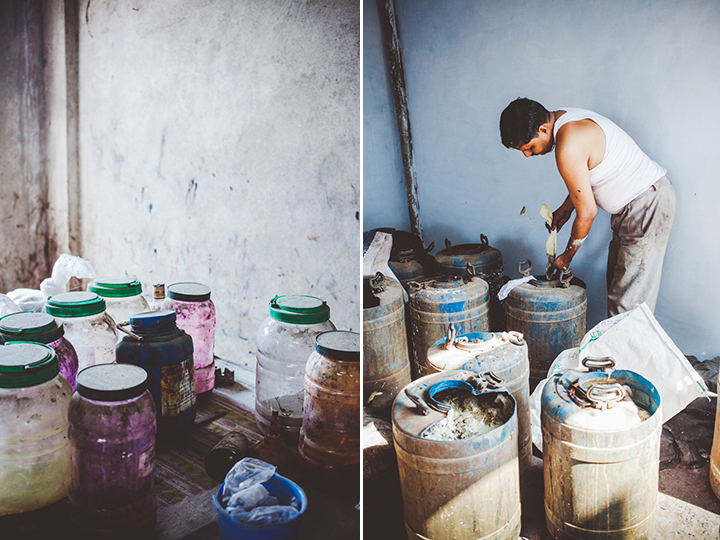
 Just how these color recipes were made still blows me away. The recipe for black especially boggles my mind. Below are the colors used today...
BLACK: Horseshoes that sit on coals for a period of time, brushed of rust are then put in cans with water and sugar cane juice, left to ferment for periods of months to yield black dye.
RED: A mixture of natural gum paste and alum
BROWN: Red Kashish with water
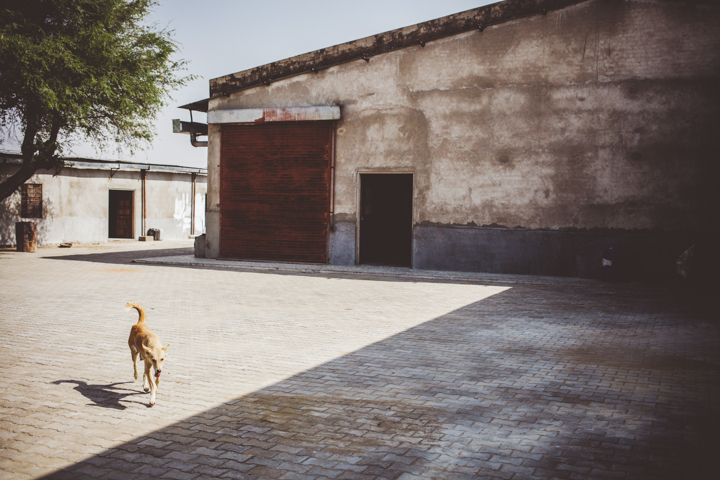
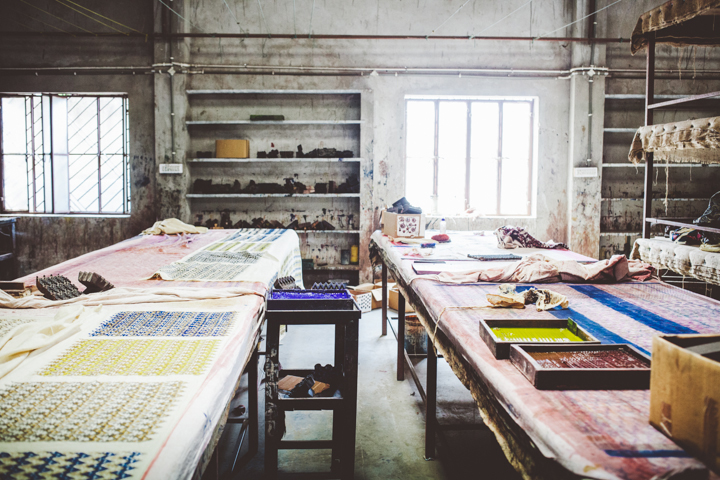
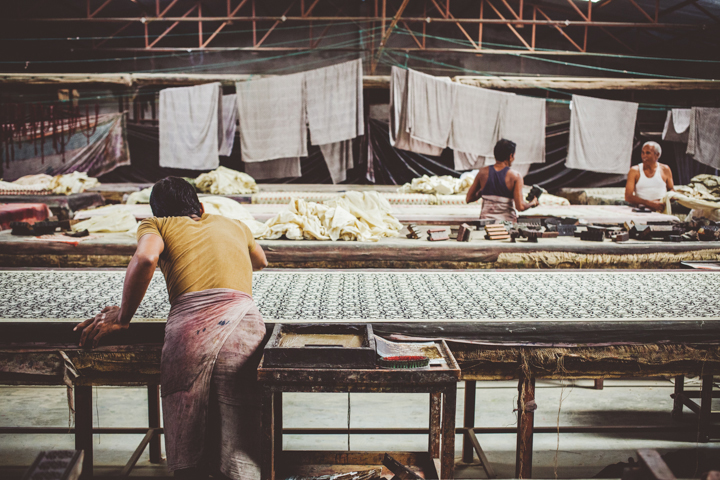
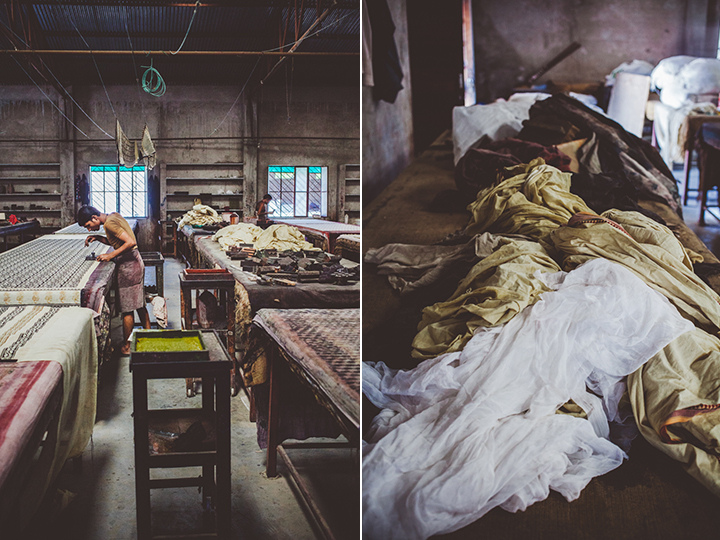
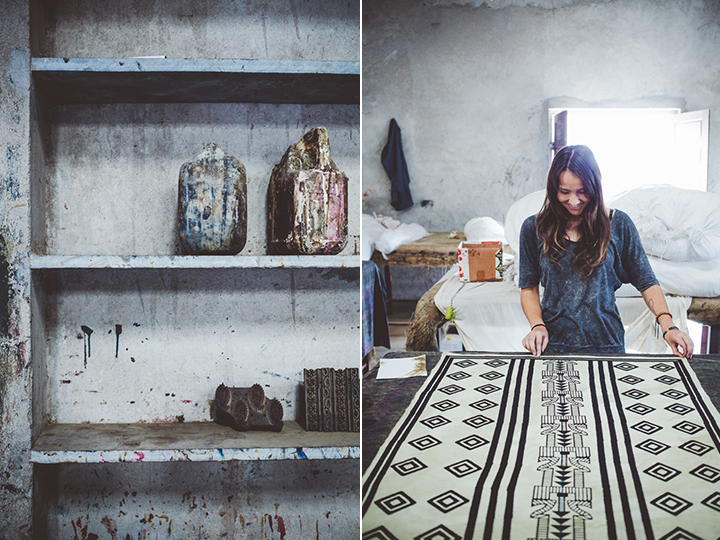
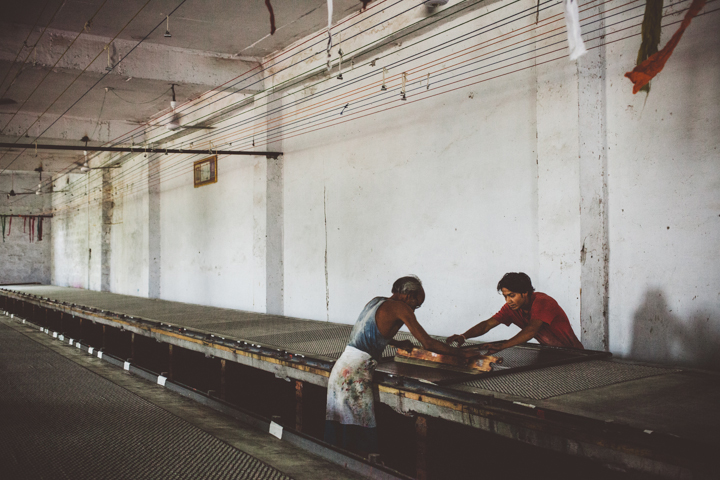
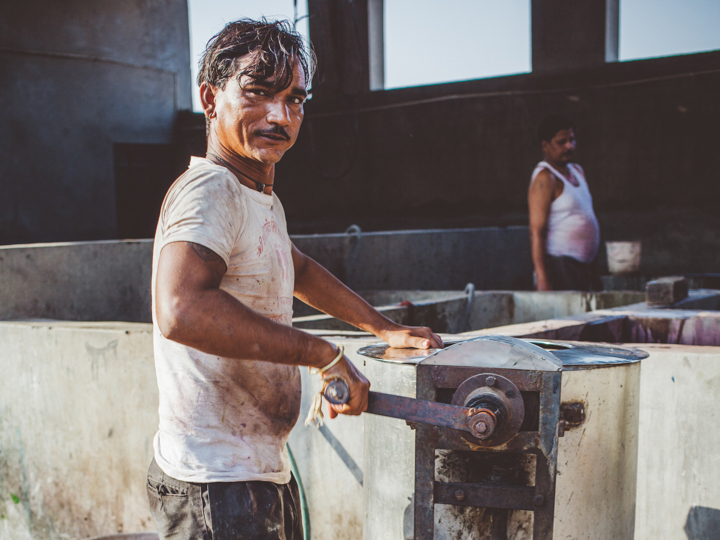
We also had a little time to peek around the factory...
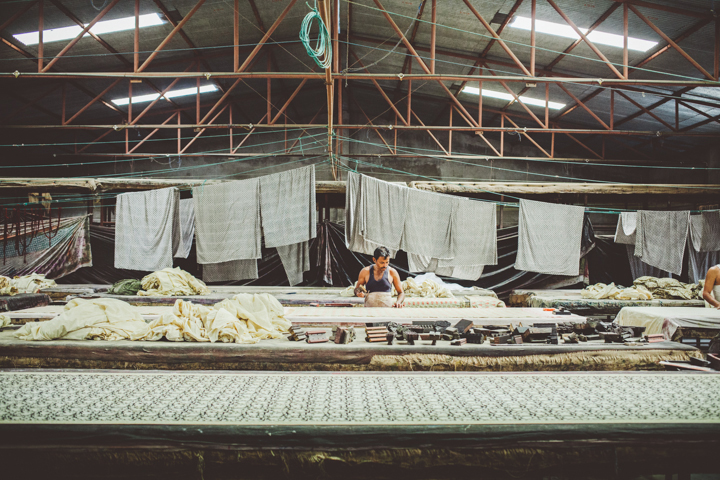
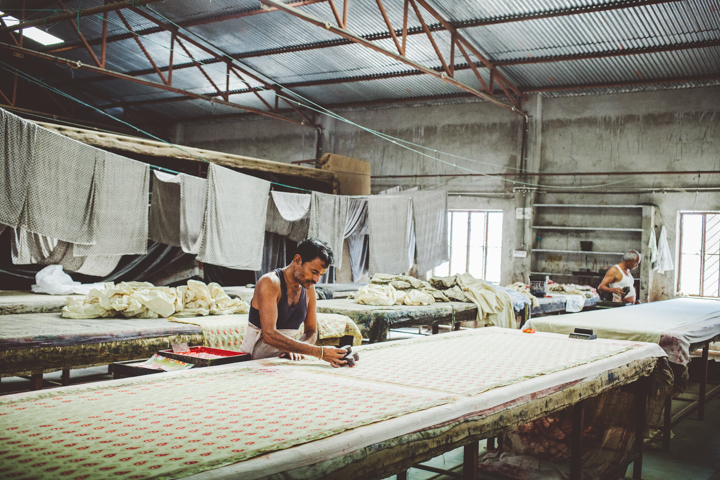
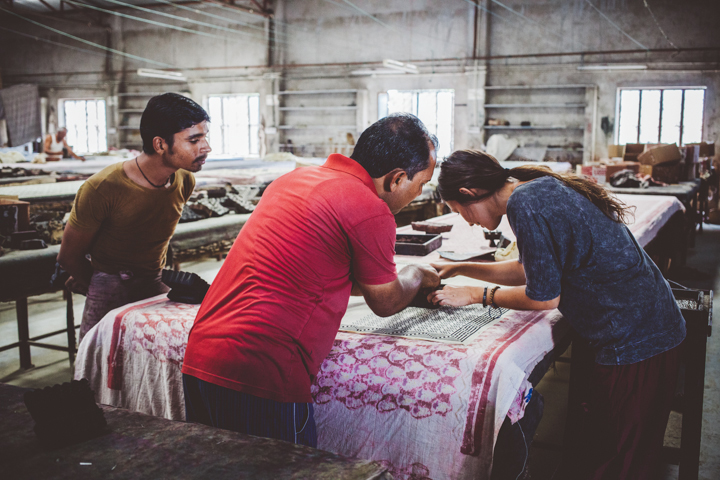
 The guys here do it so effortlessly, some masters have been block printing for 30+ years. I'm about to find out how it's not as easy as it looks. My fabrics are ready now dry and primed for...
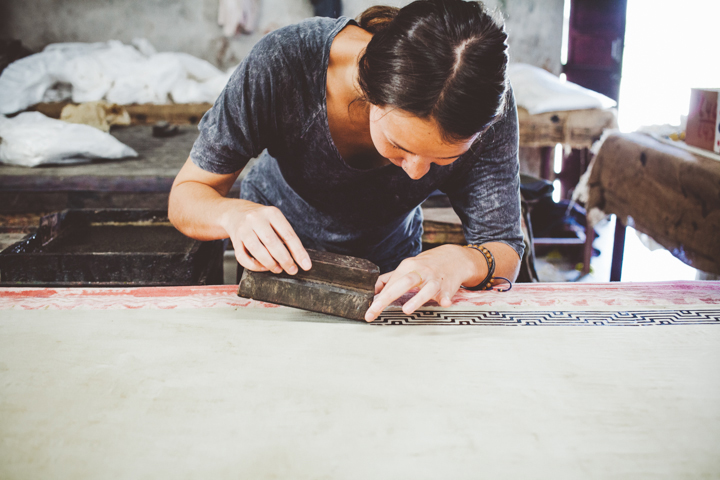
STEP 4: PRINTING!
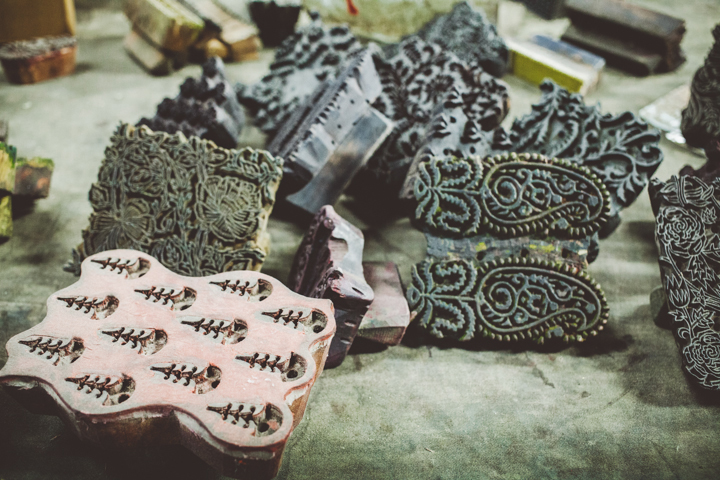
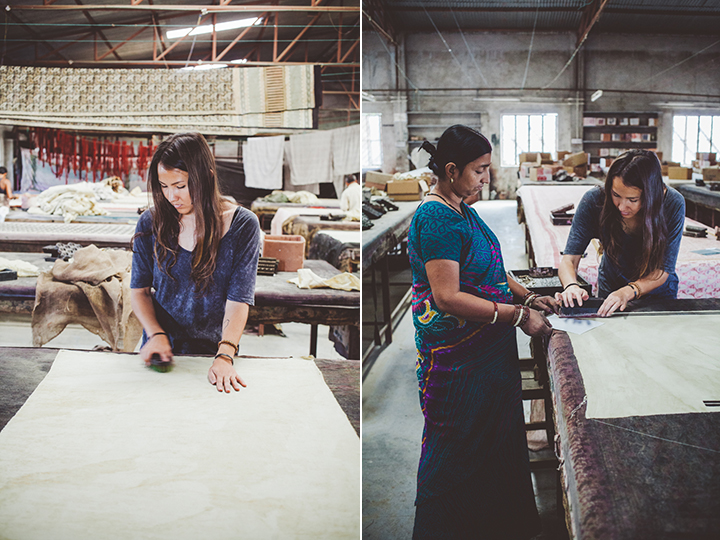
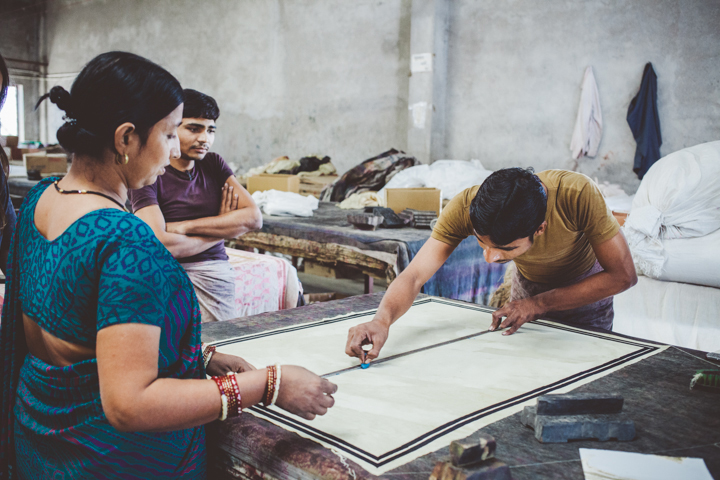
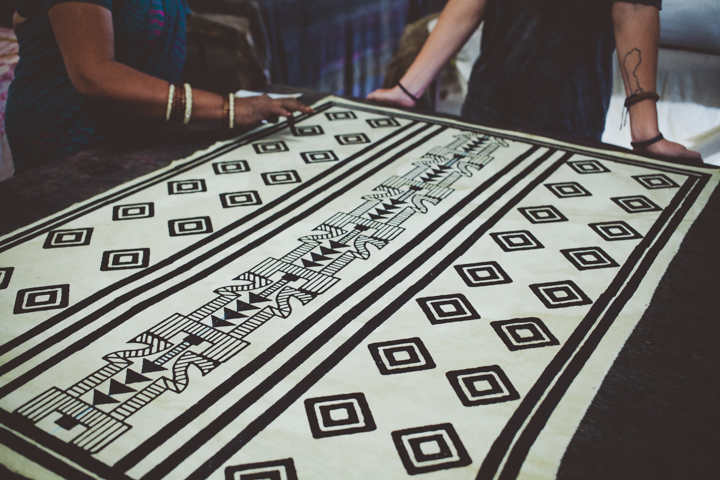
I first stretch and pin the fabric on the printing table and choose some blocks for my design. A master helps me start my border corners...
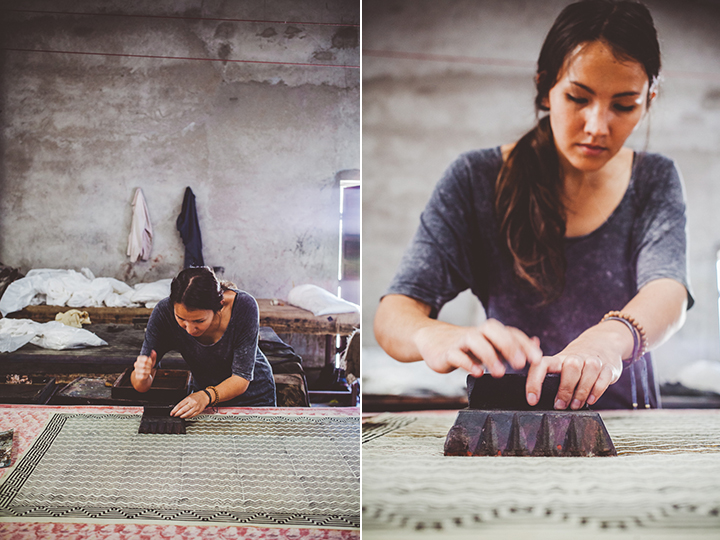
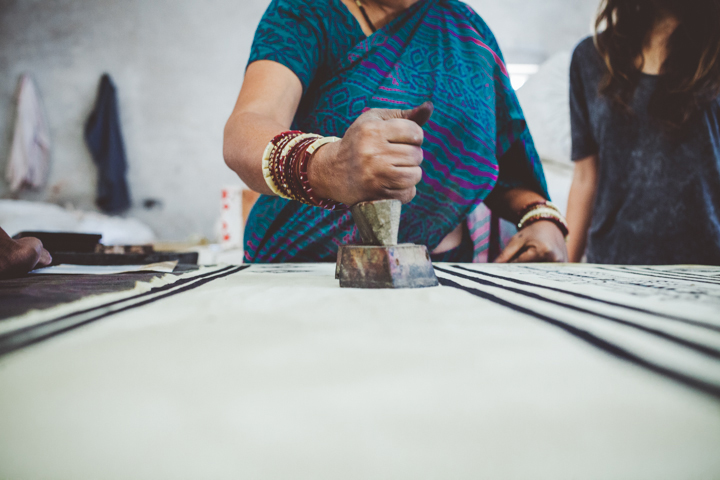
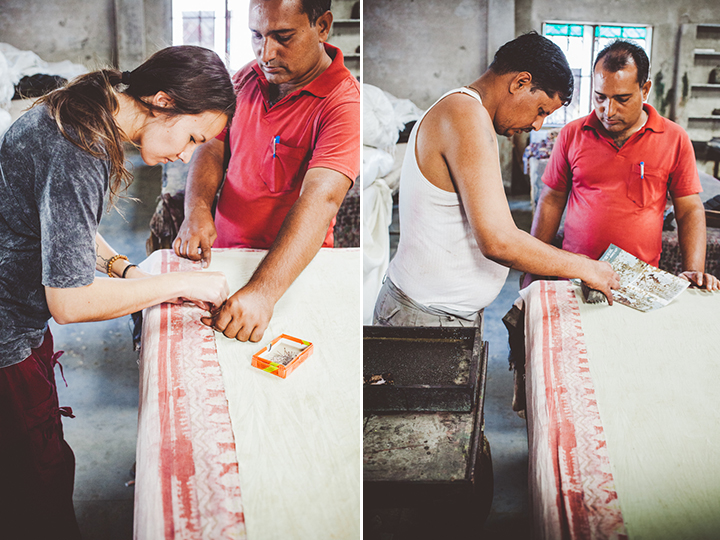 I find out quickly this takes precision. The block is placed from left to right and then slammed hard with your fist on the back of the handle for complete registration.
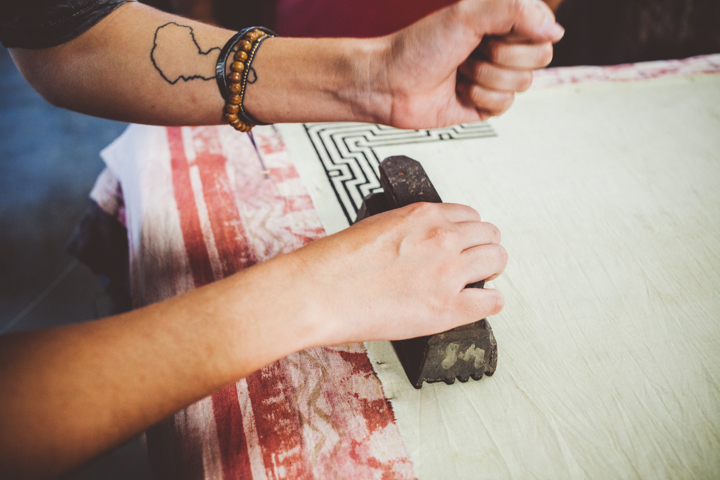
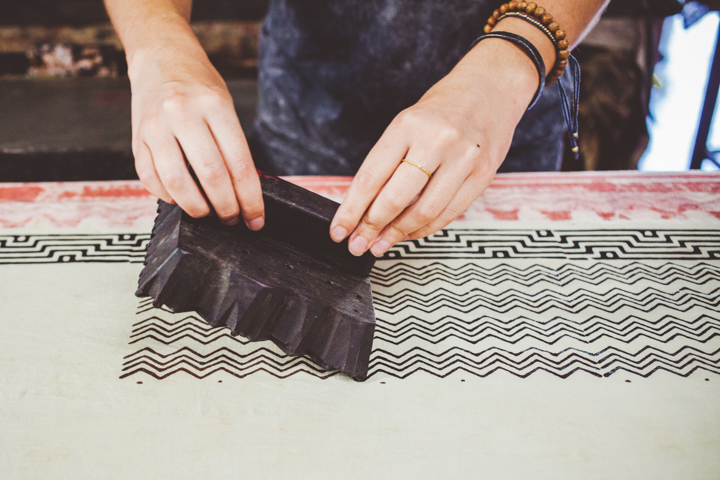
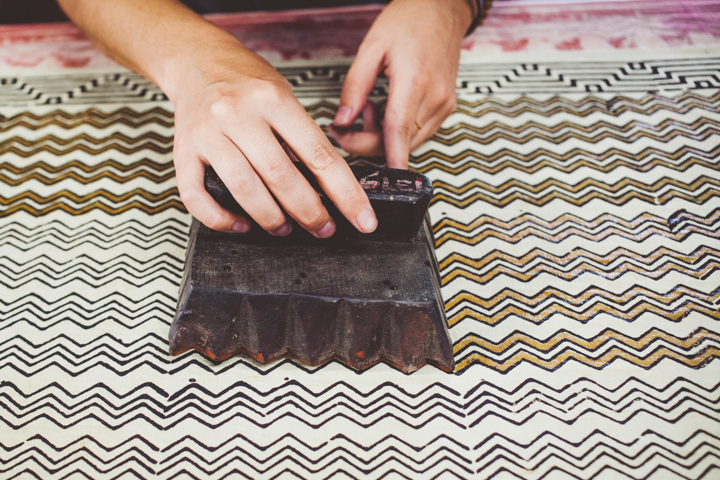
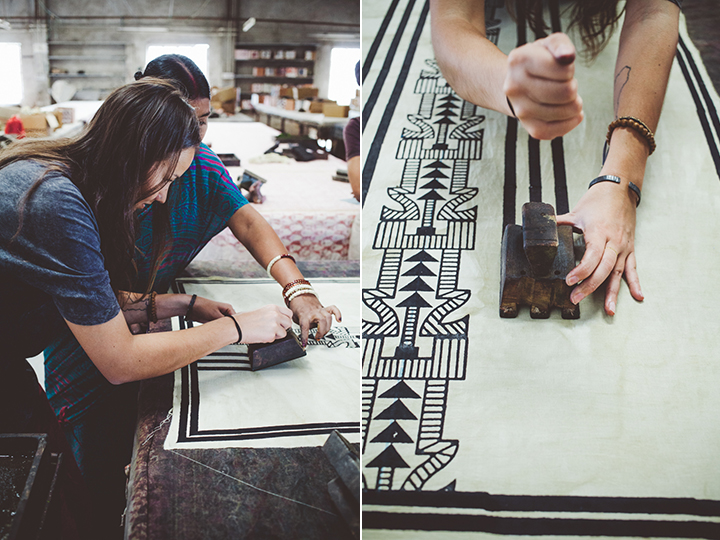
 I finish the border and it's time to print with my outline block for my main zig-zag pattern.


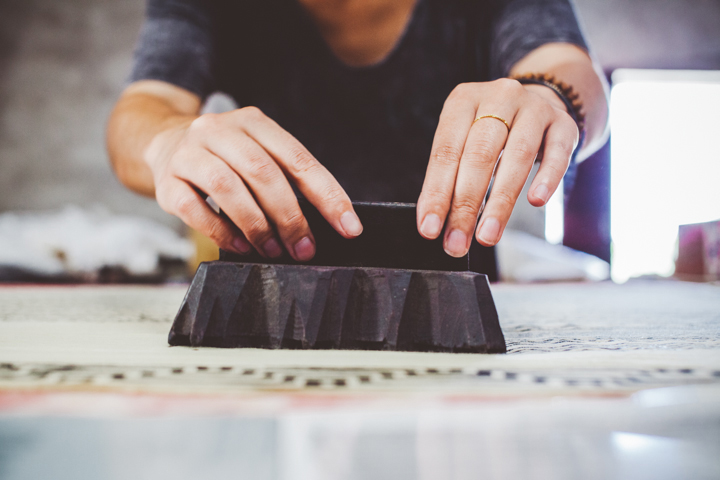
 Now time to fill those zig-zags. I choose red, which appears yellow at this point. It won't show as red until the last step when it is boiled with the presence of alizarin (root of Indian Madder Tree). Now I use the filling block which is like the inverse of the outline block. This is getting tricky!
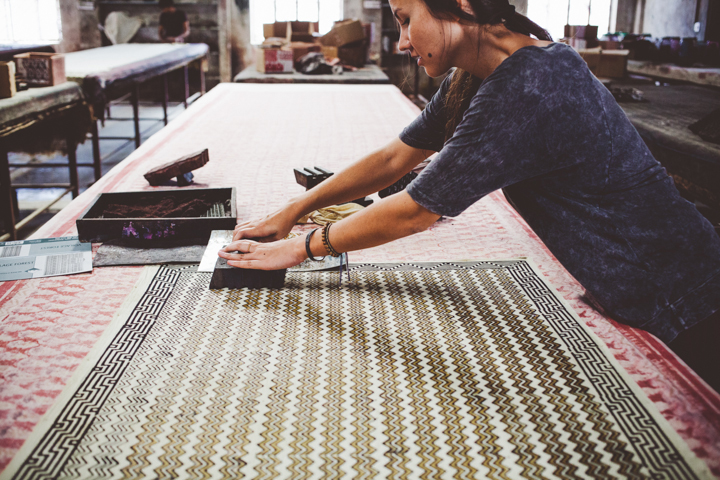 I also print the border with brown dye and proceed to...
STEP 5: DRYING
 Now that's I've practiced with one, I move on to scarf #2! This time I opt for a monochromatic geometric pattern using only black ink. Here we go! I'm also guided by a few other printers that help me with the print.

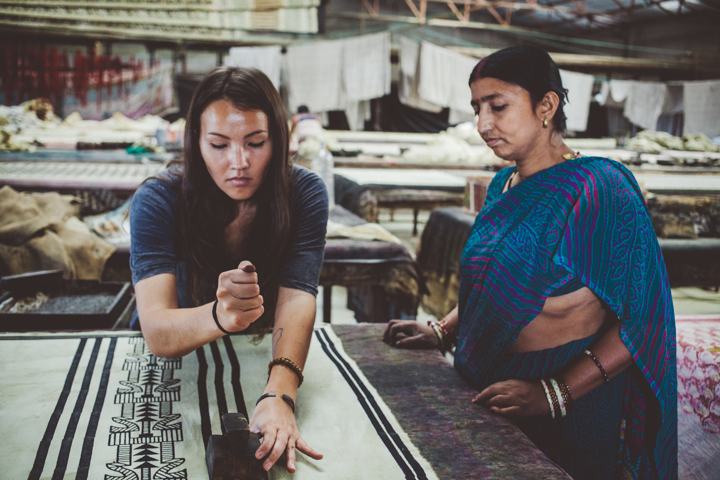
 My hands at this point are sore from slamming the blocks (see the damage later) but my print is done and I am loving it! Time to lay it out to dry!

 We break for lunch while they dry.
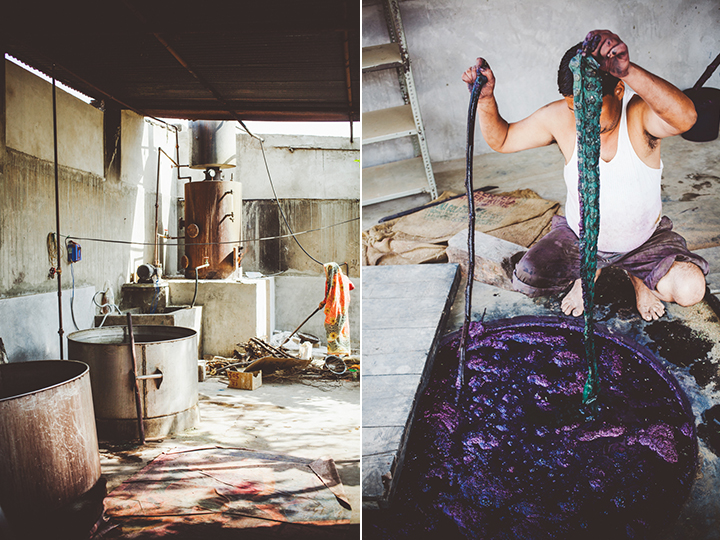
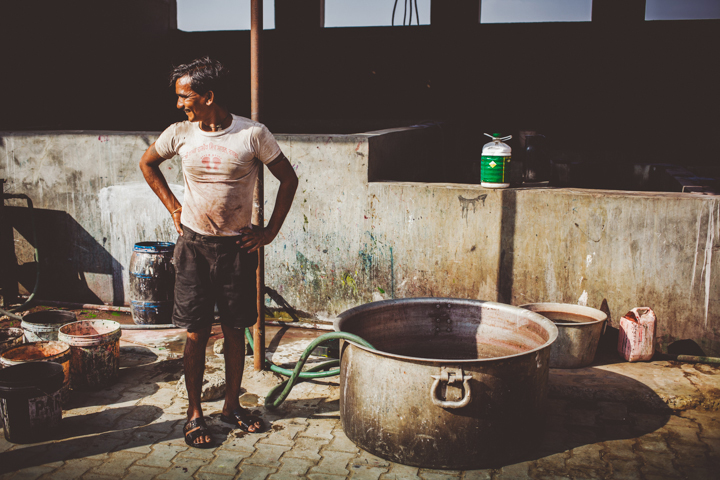
We are showed the indigo dyeing pot and another part of the factory where they silk screen.

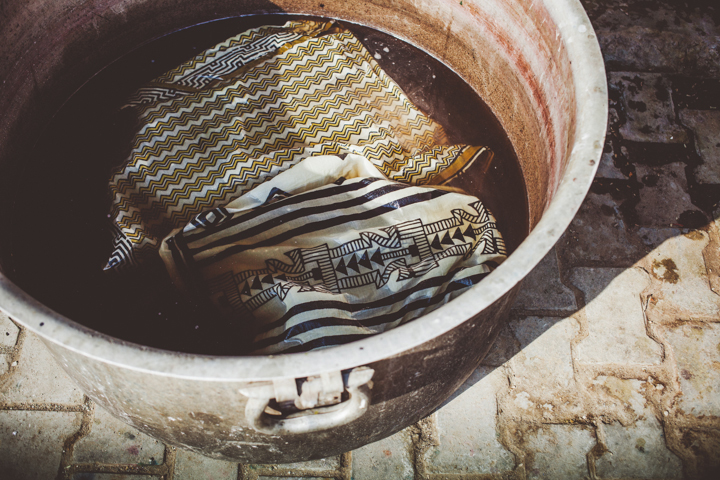
 Once dried, we are ready for the next step!
STEP 6: WASHING
The fabric is now ready to be washed in cool water.
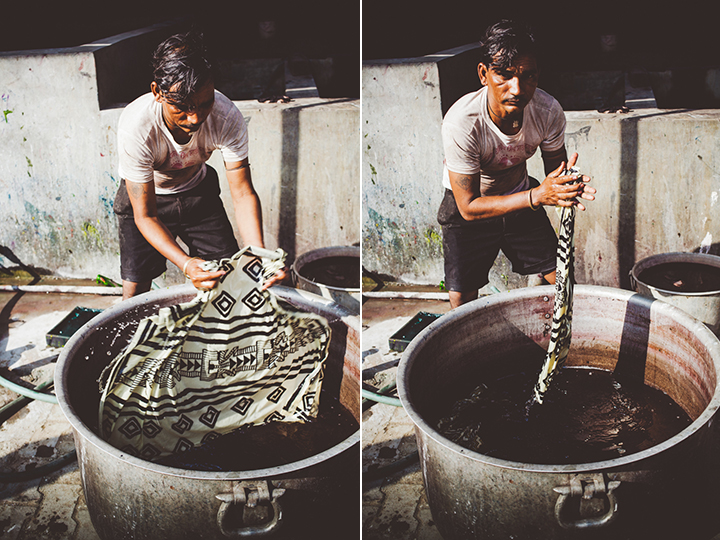
 The pieces are beaten against the concrete and ready for the final step...
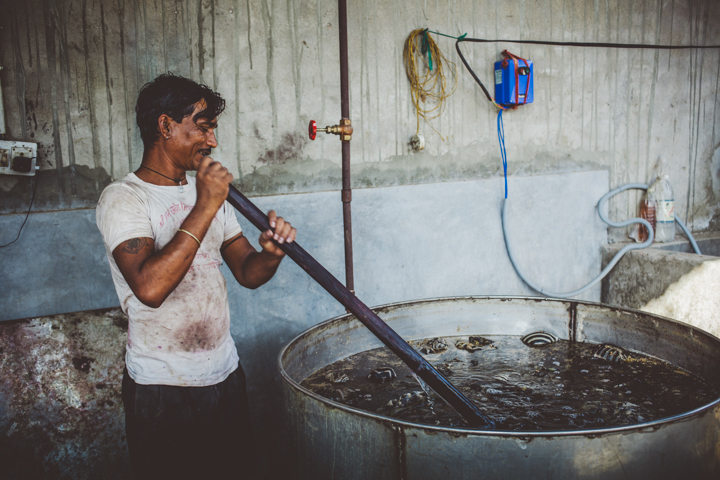
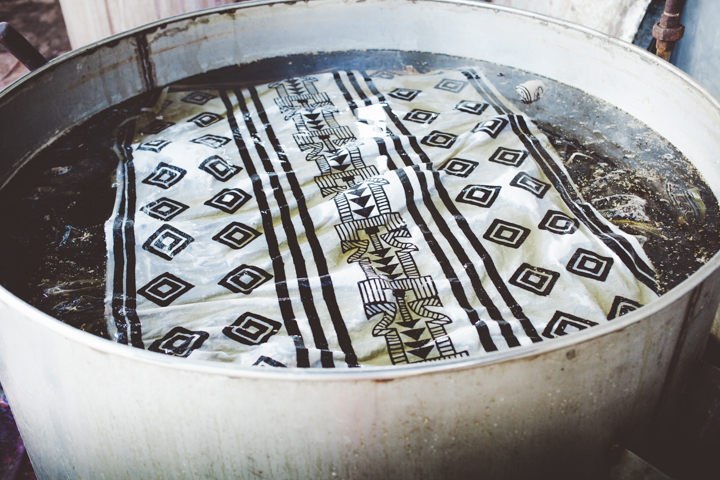
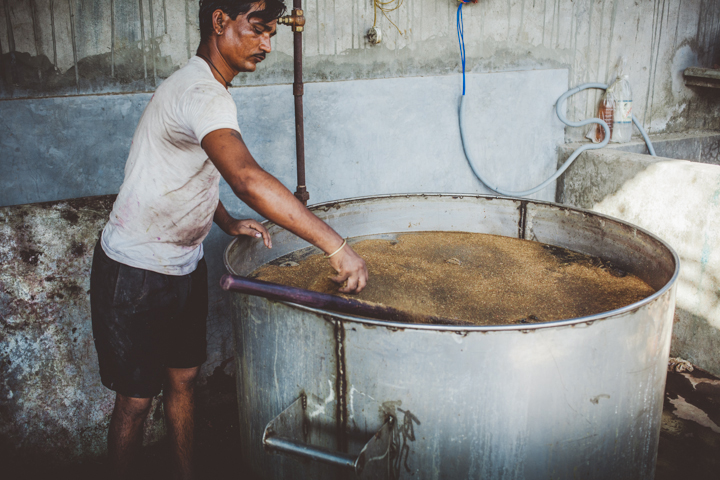
 STEP 7: BOILING
This is where the color fasting takes place with the help of flowers from the Dhaura tree.
Pieces with red dye is boiled in a separate pot with alizarin which then turns the once yellowish color red.
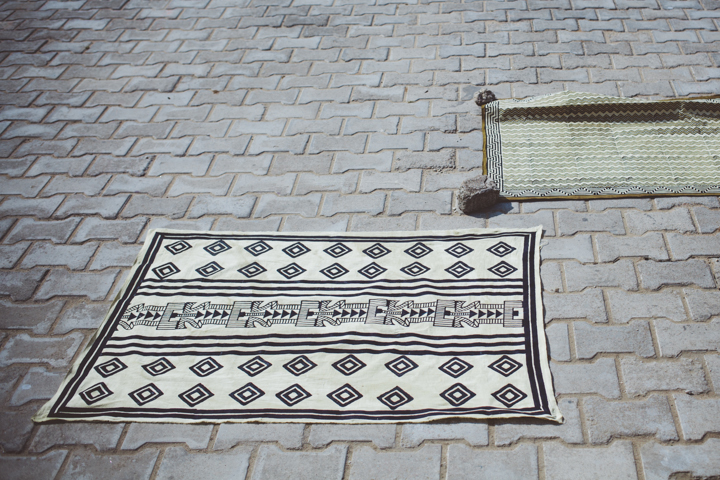
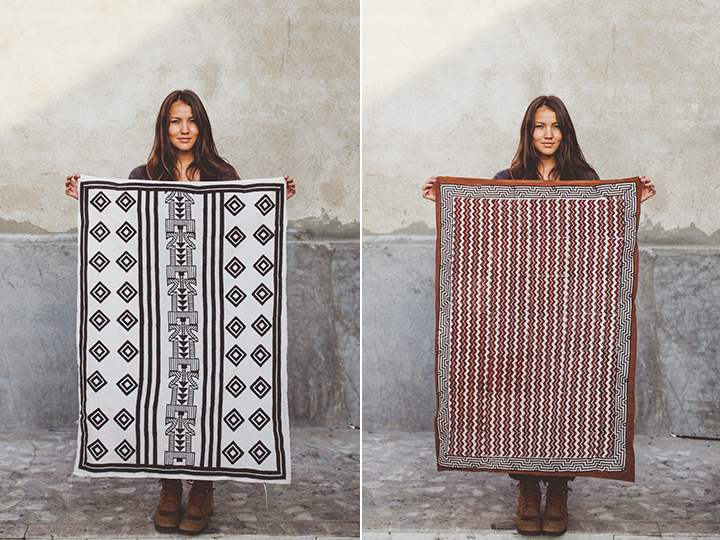
 Once boiled, they give it a quick rinse, quick spin to dry and they are done!!! They dry in the sun and I have two scarves that I'm ready to rock.

 I even get a certificate at the end of the workshop!
 So there you have it. A day of much needed creativity thanks to the team of Jai Texart!
A few days pass and the art pains are visible on my hands.
Beauty is pain.